Jaguar E-Type Full Detail By Aaron Brookes From Scene Clean Valeting
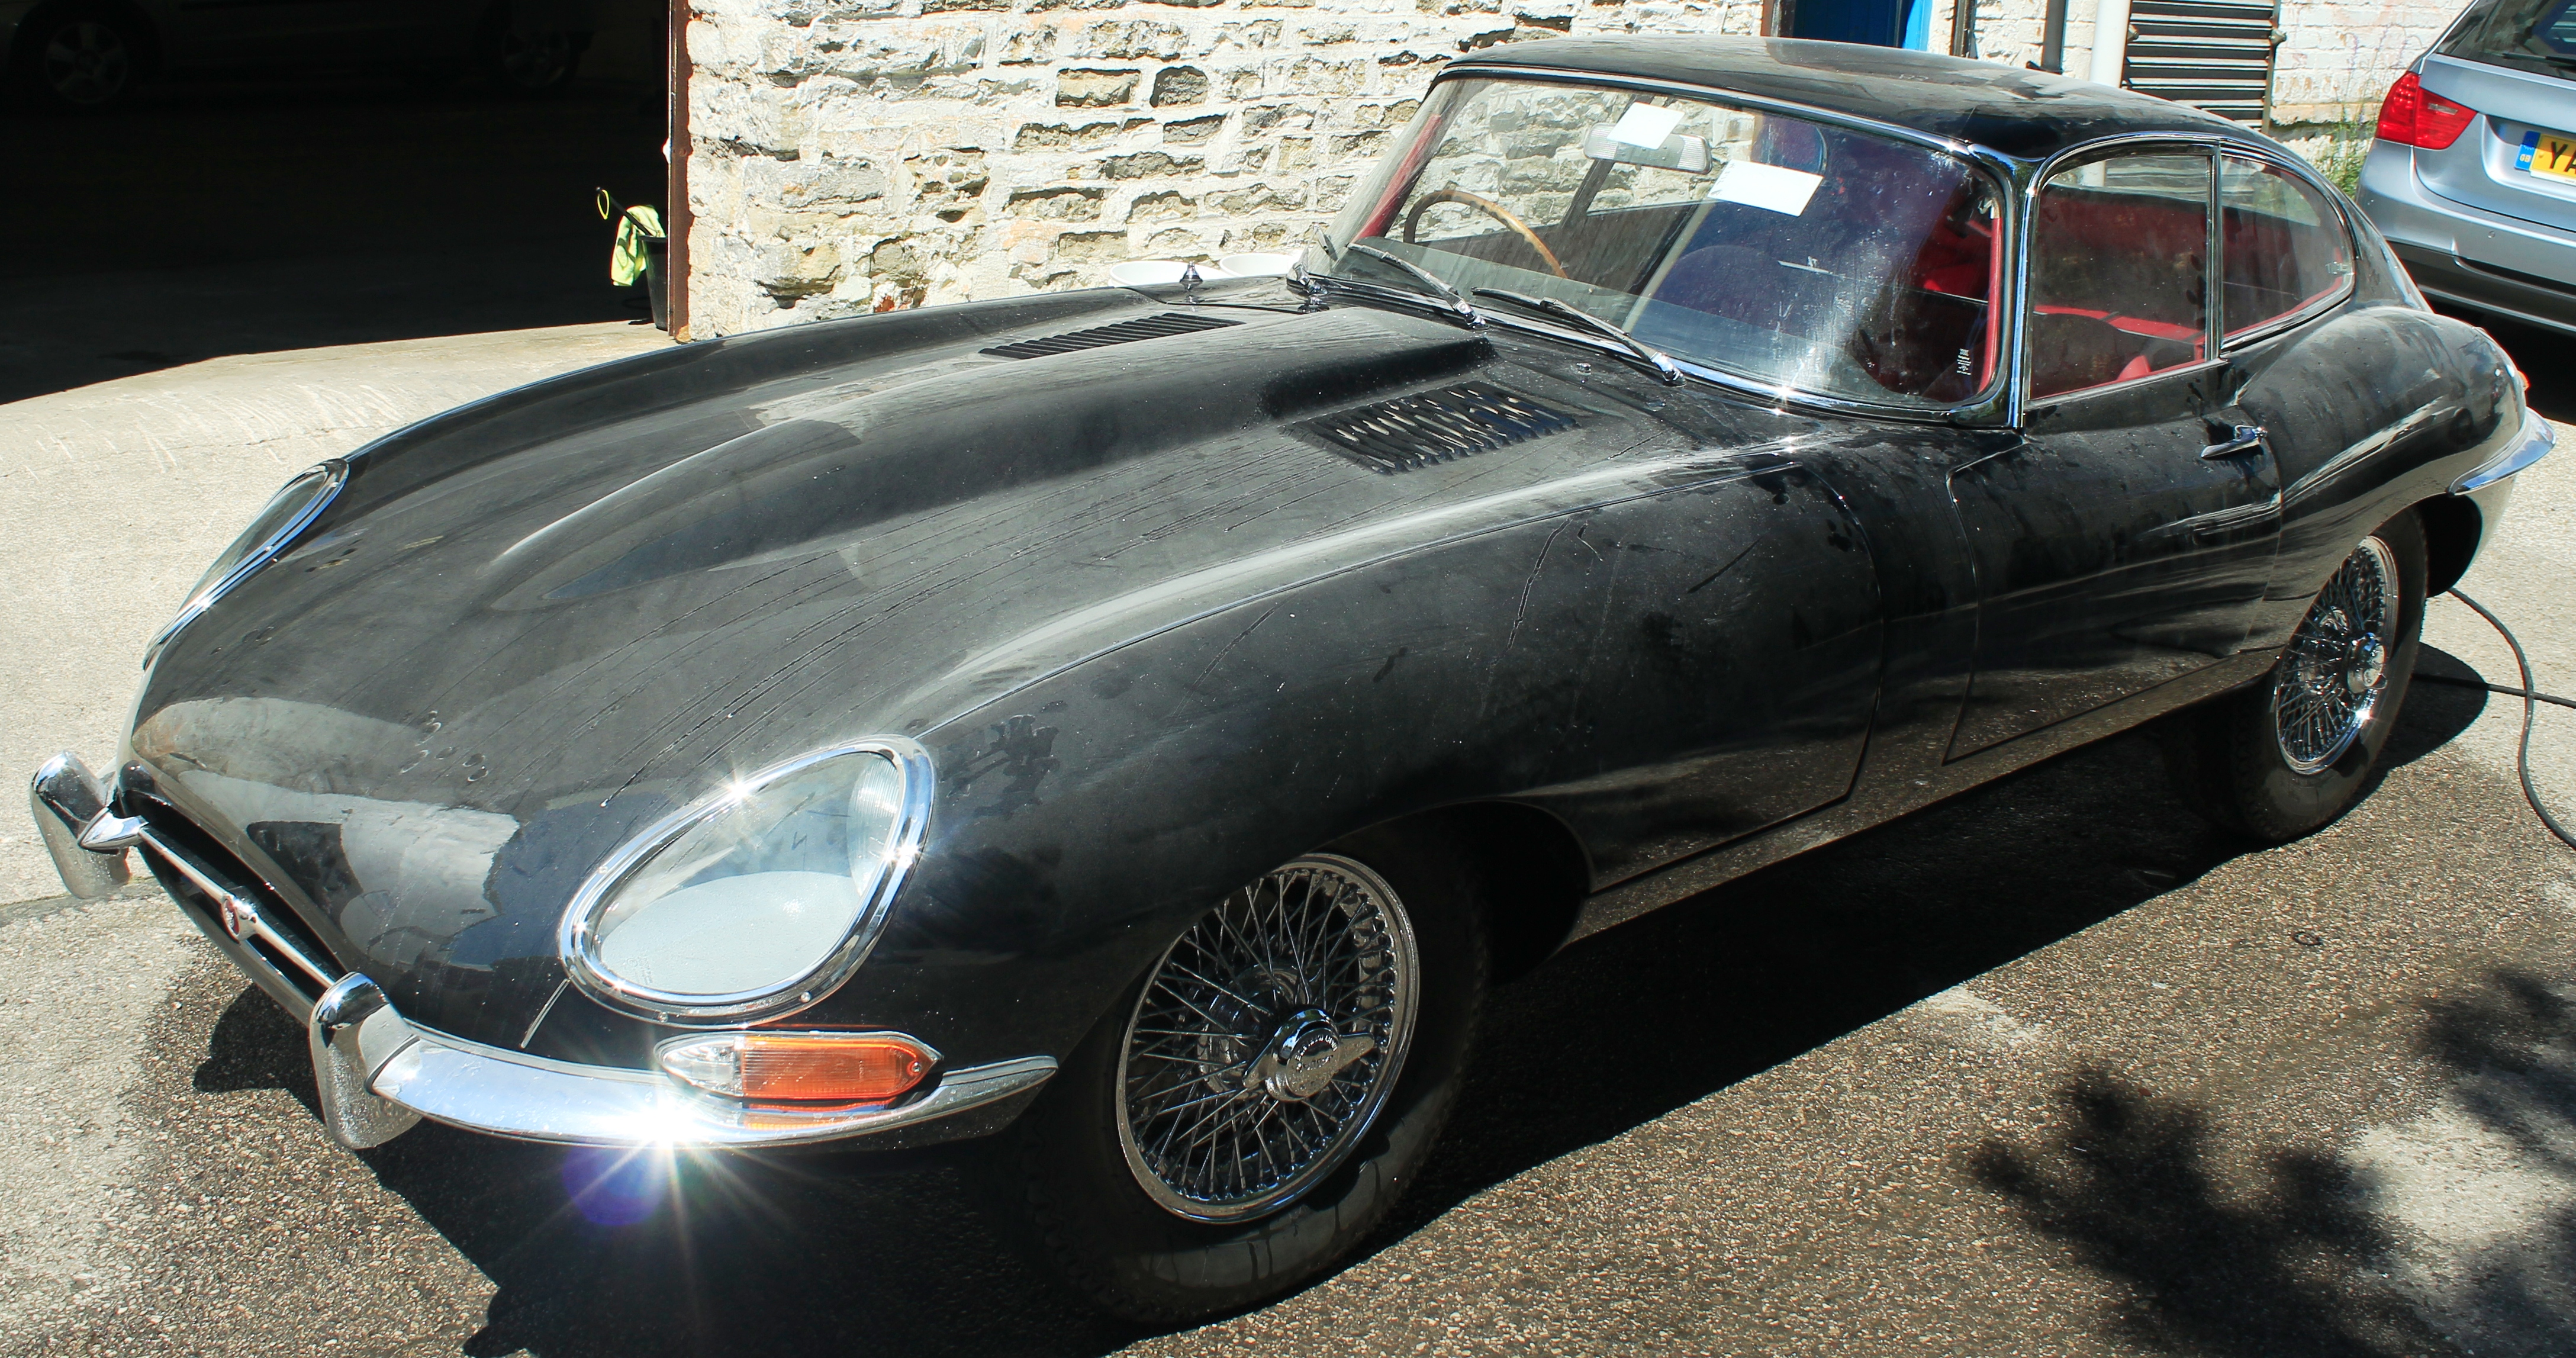
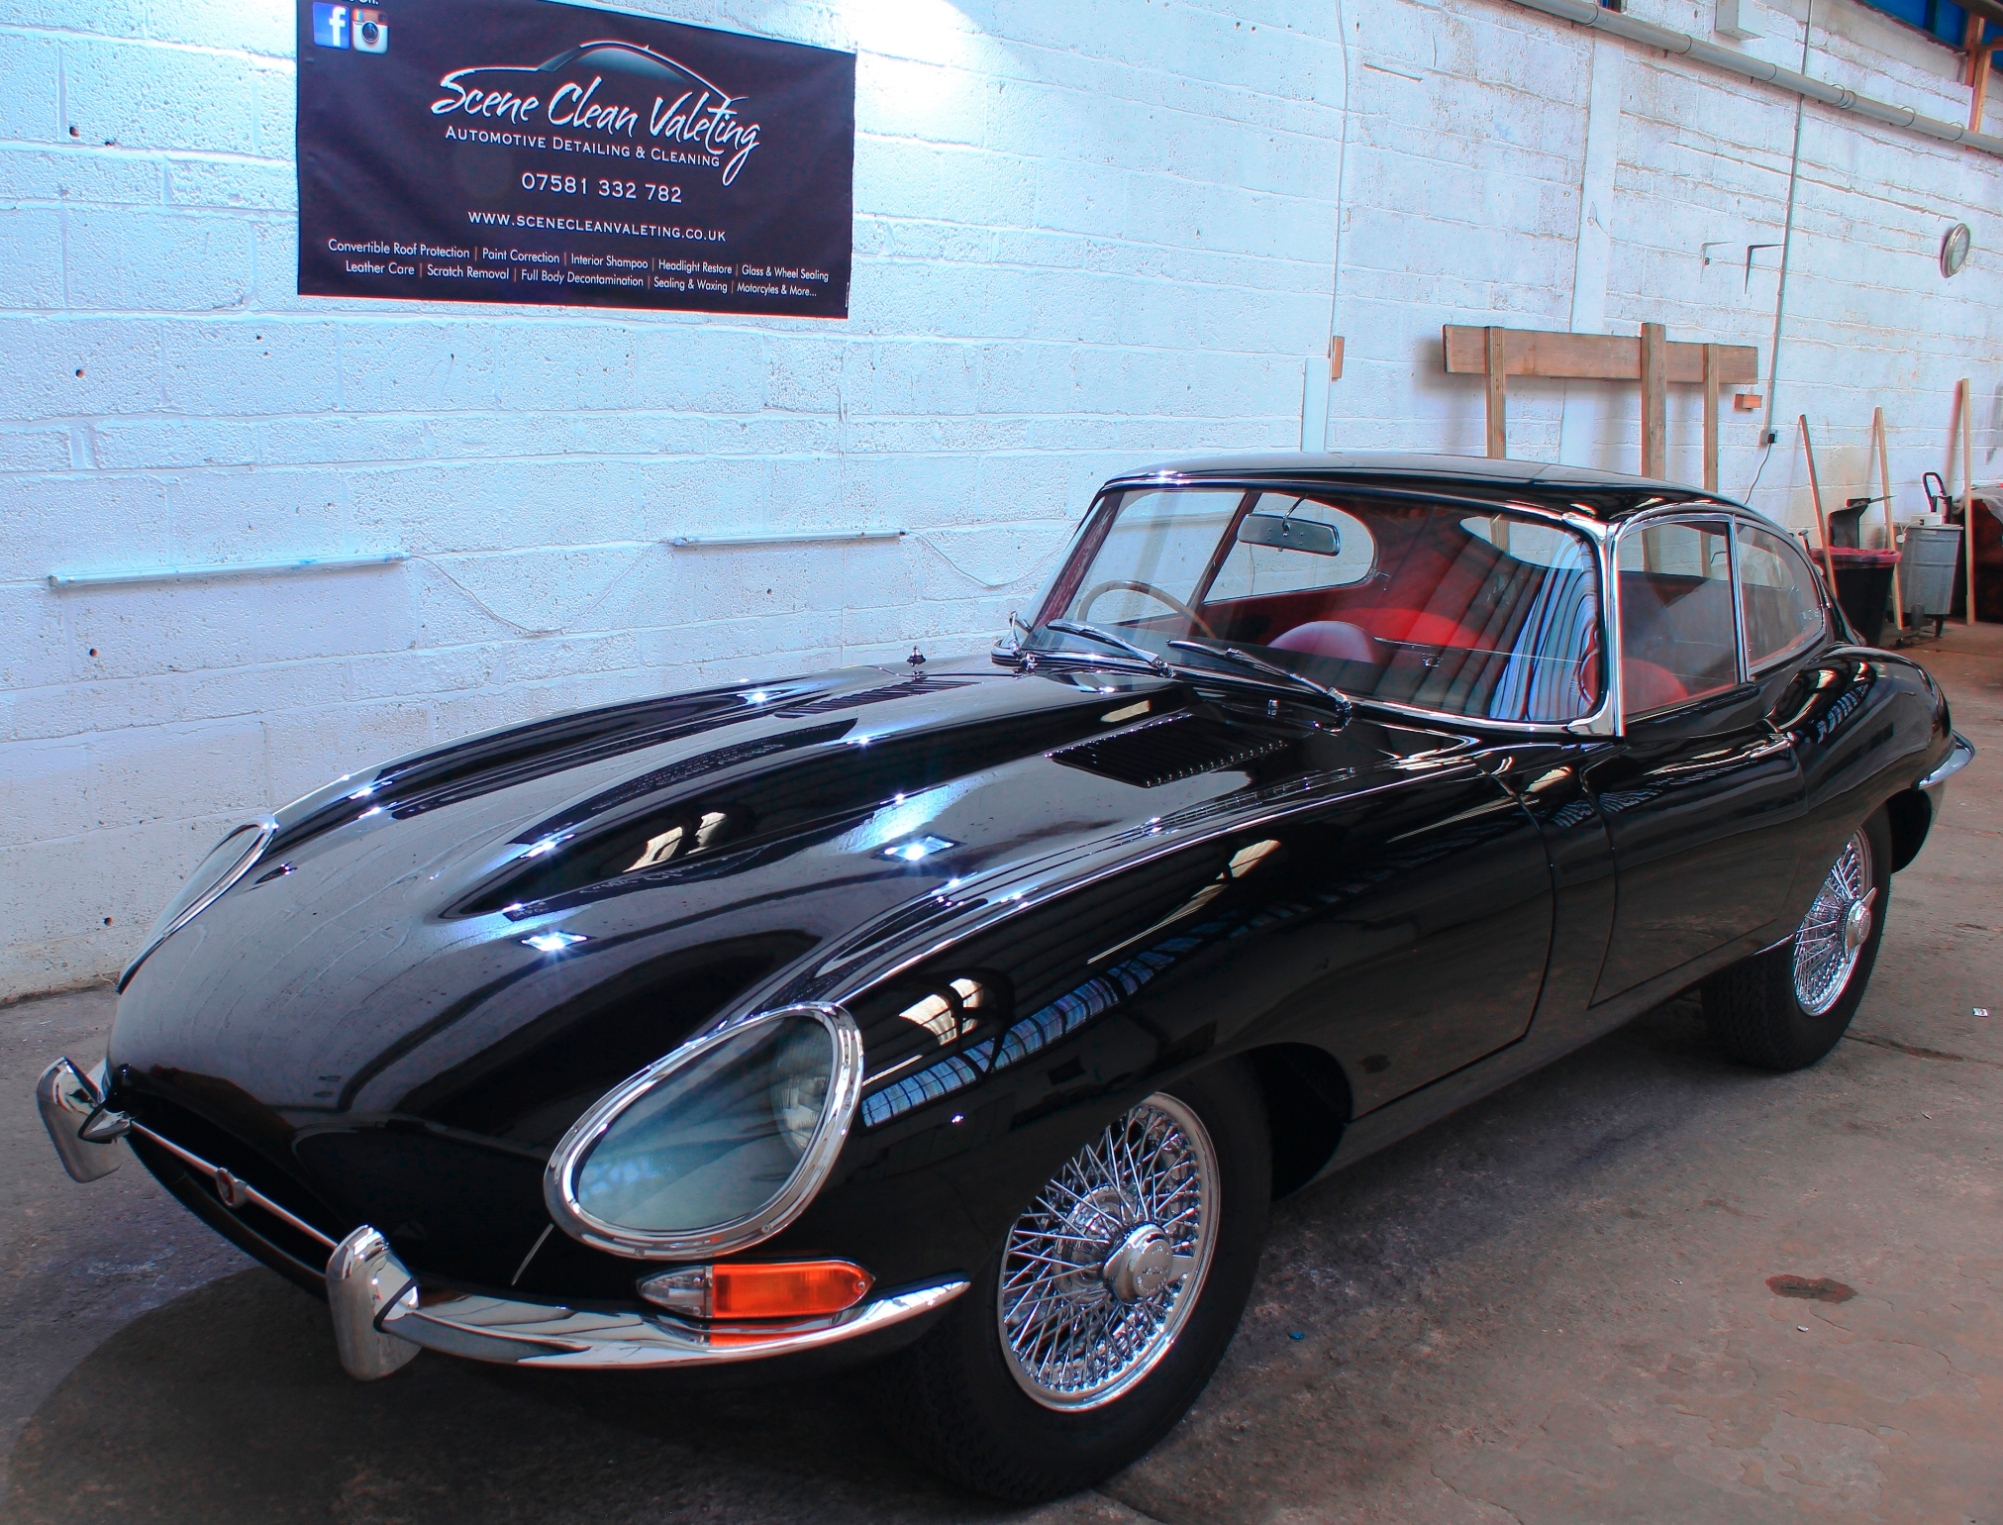
This beautifully re-built Jaguar E-Type has been undergoing a very extensive restoration over the past two years, after being imported from California. Every single area of the car has been removed, refurbished, or replaced and re-fitted, to create this absolutely stunning example of a British icon. Not a single area or part has been overlooked on this vehicle during the course of its rebuild. The car was given to us covered in body-shop dust, overspray and general grime from storage.
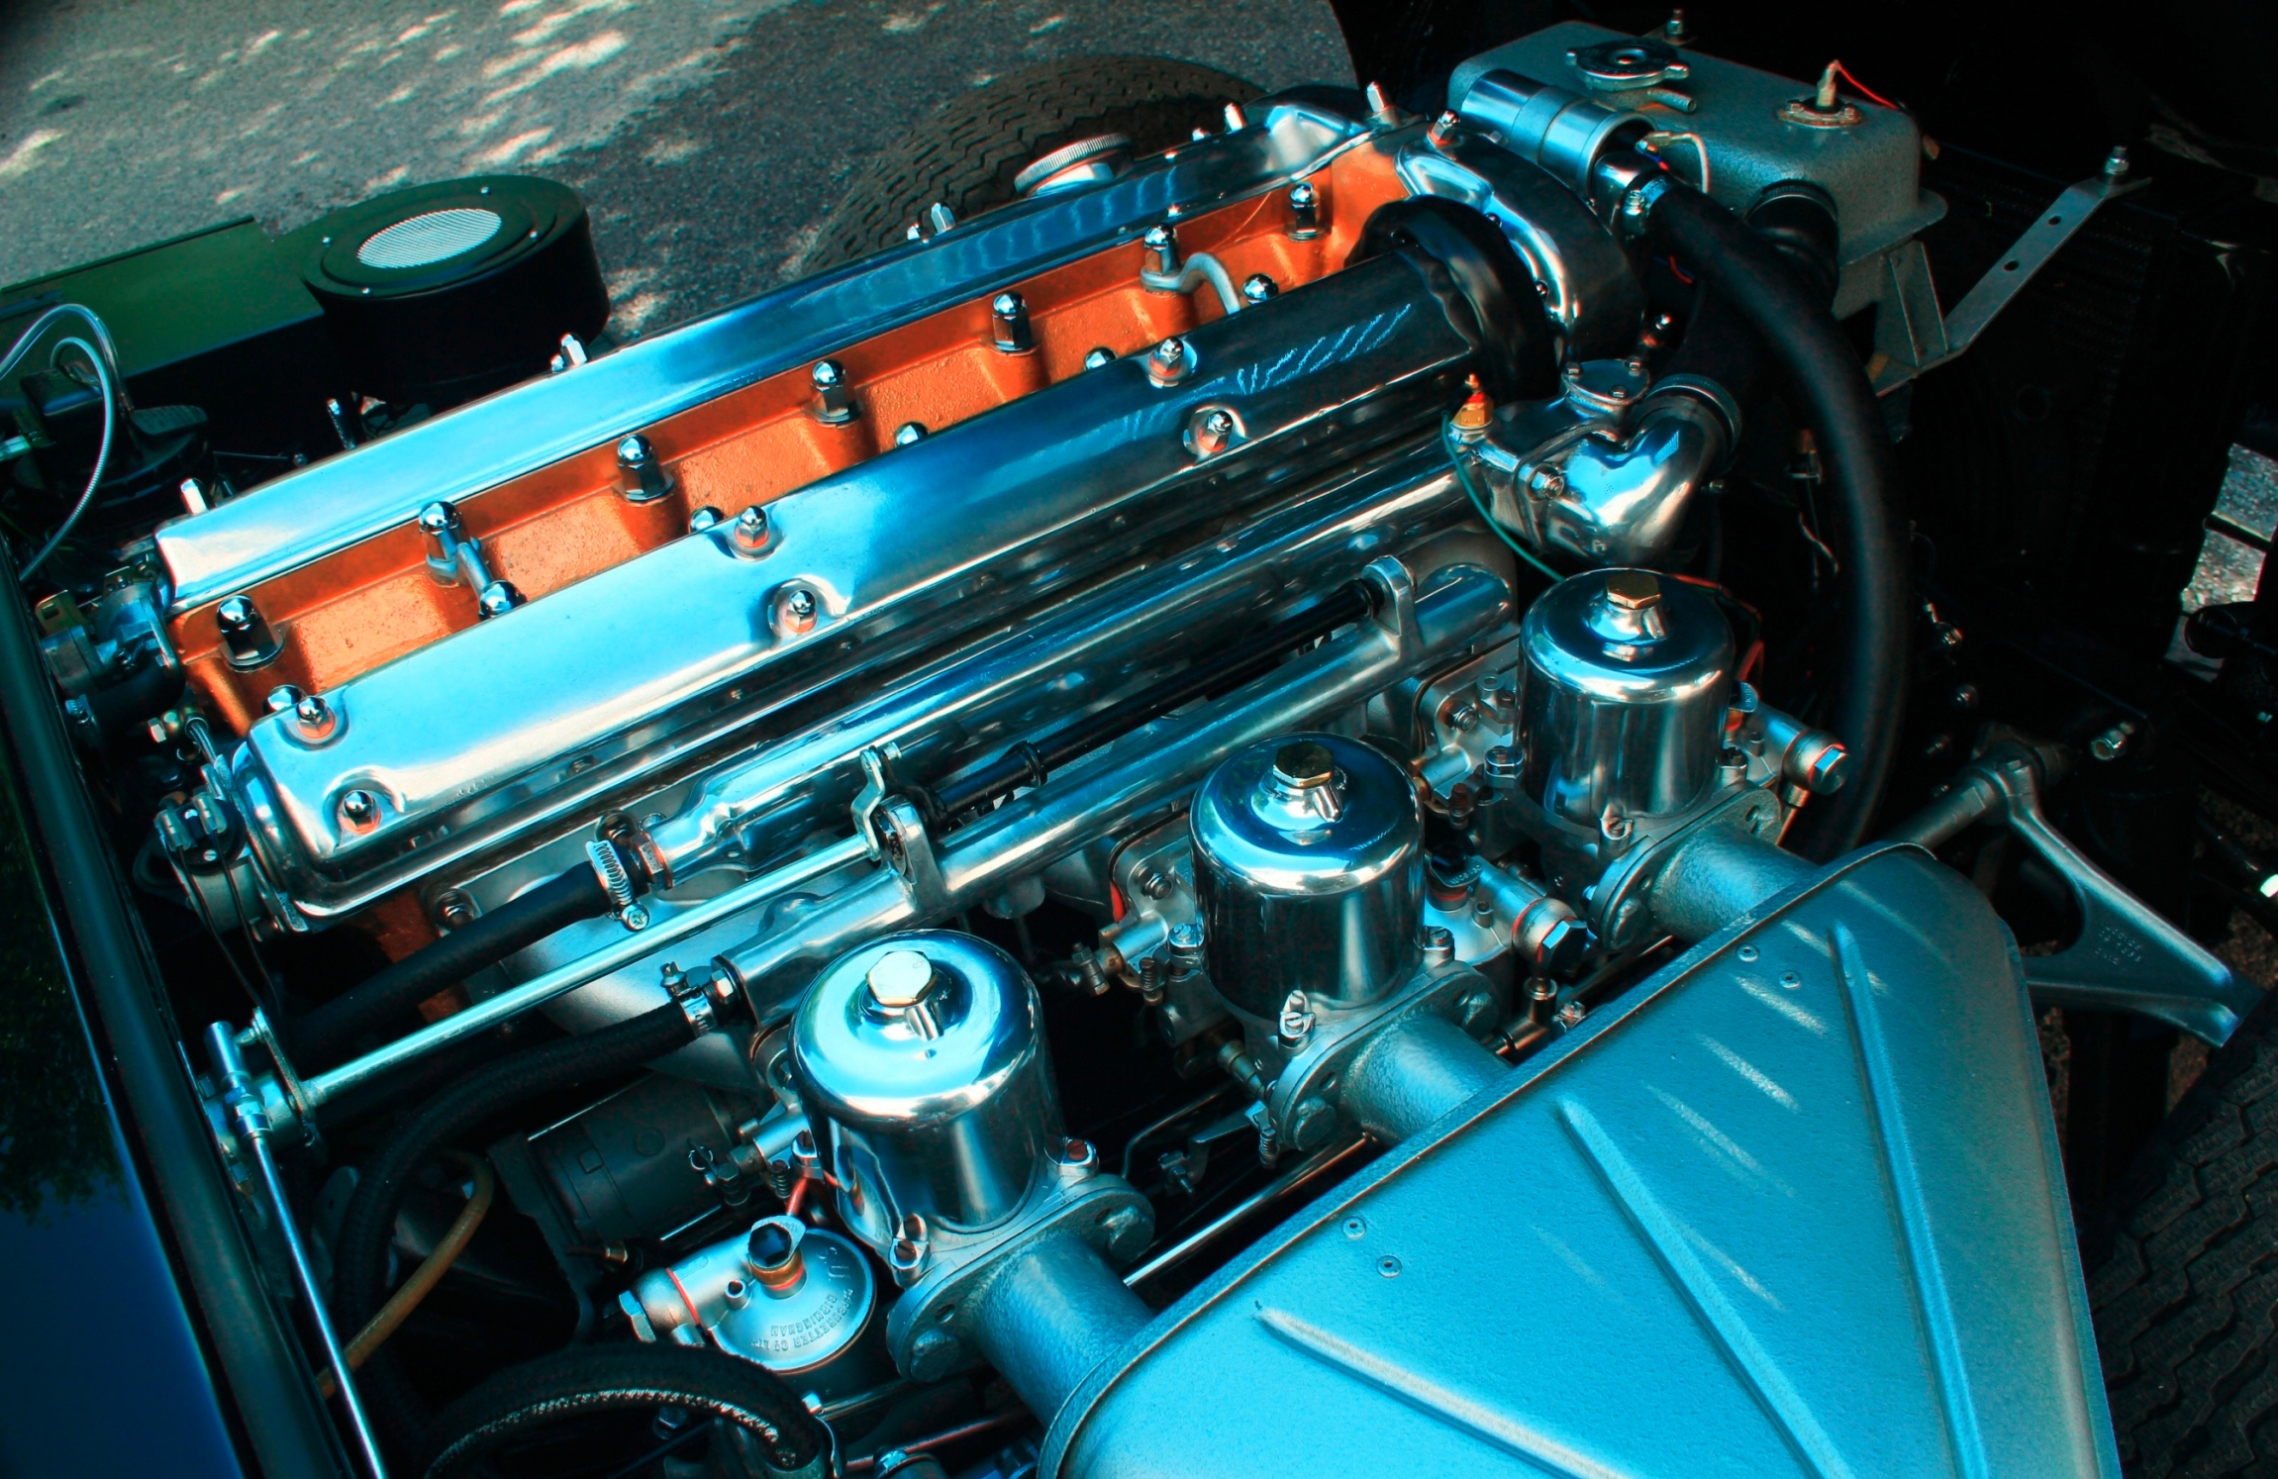

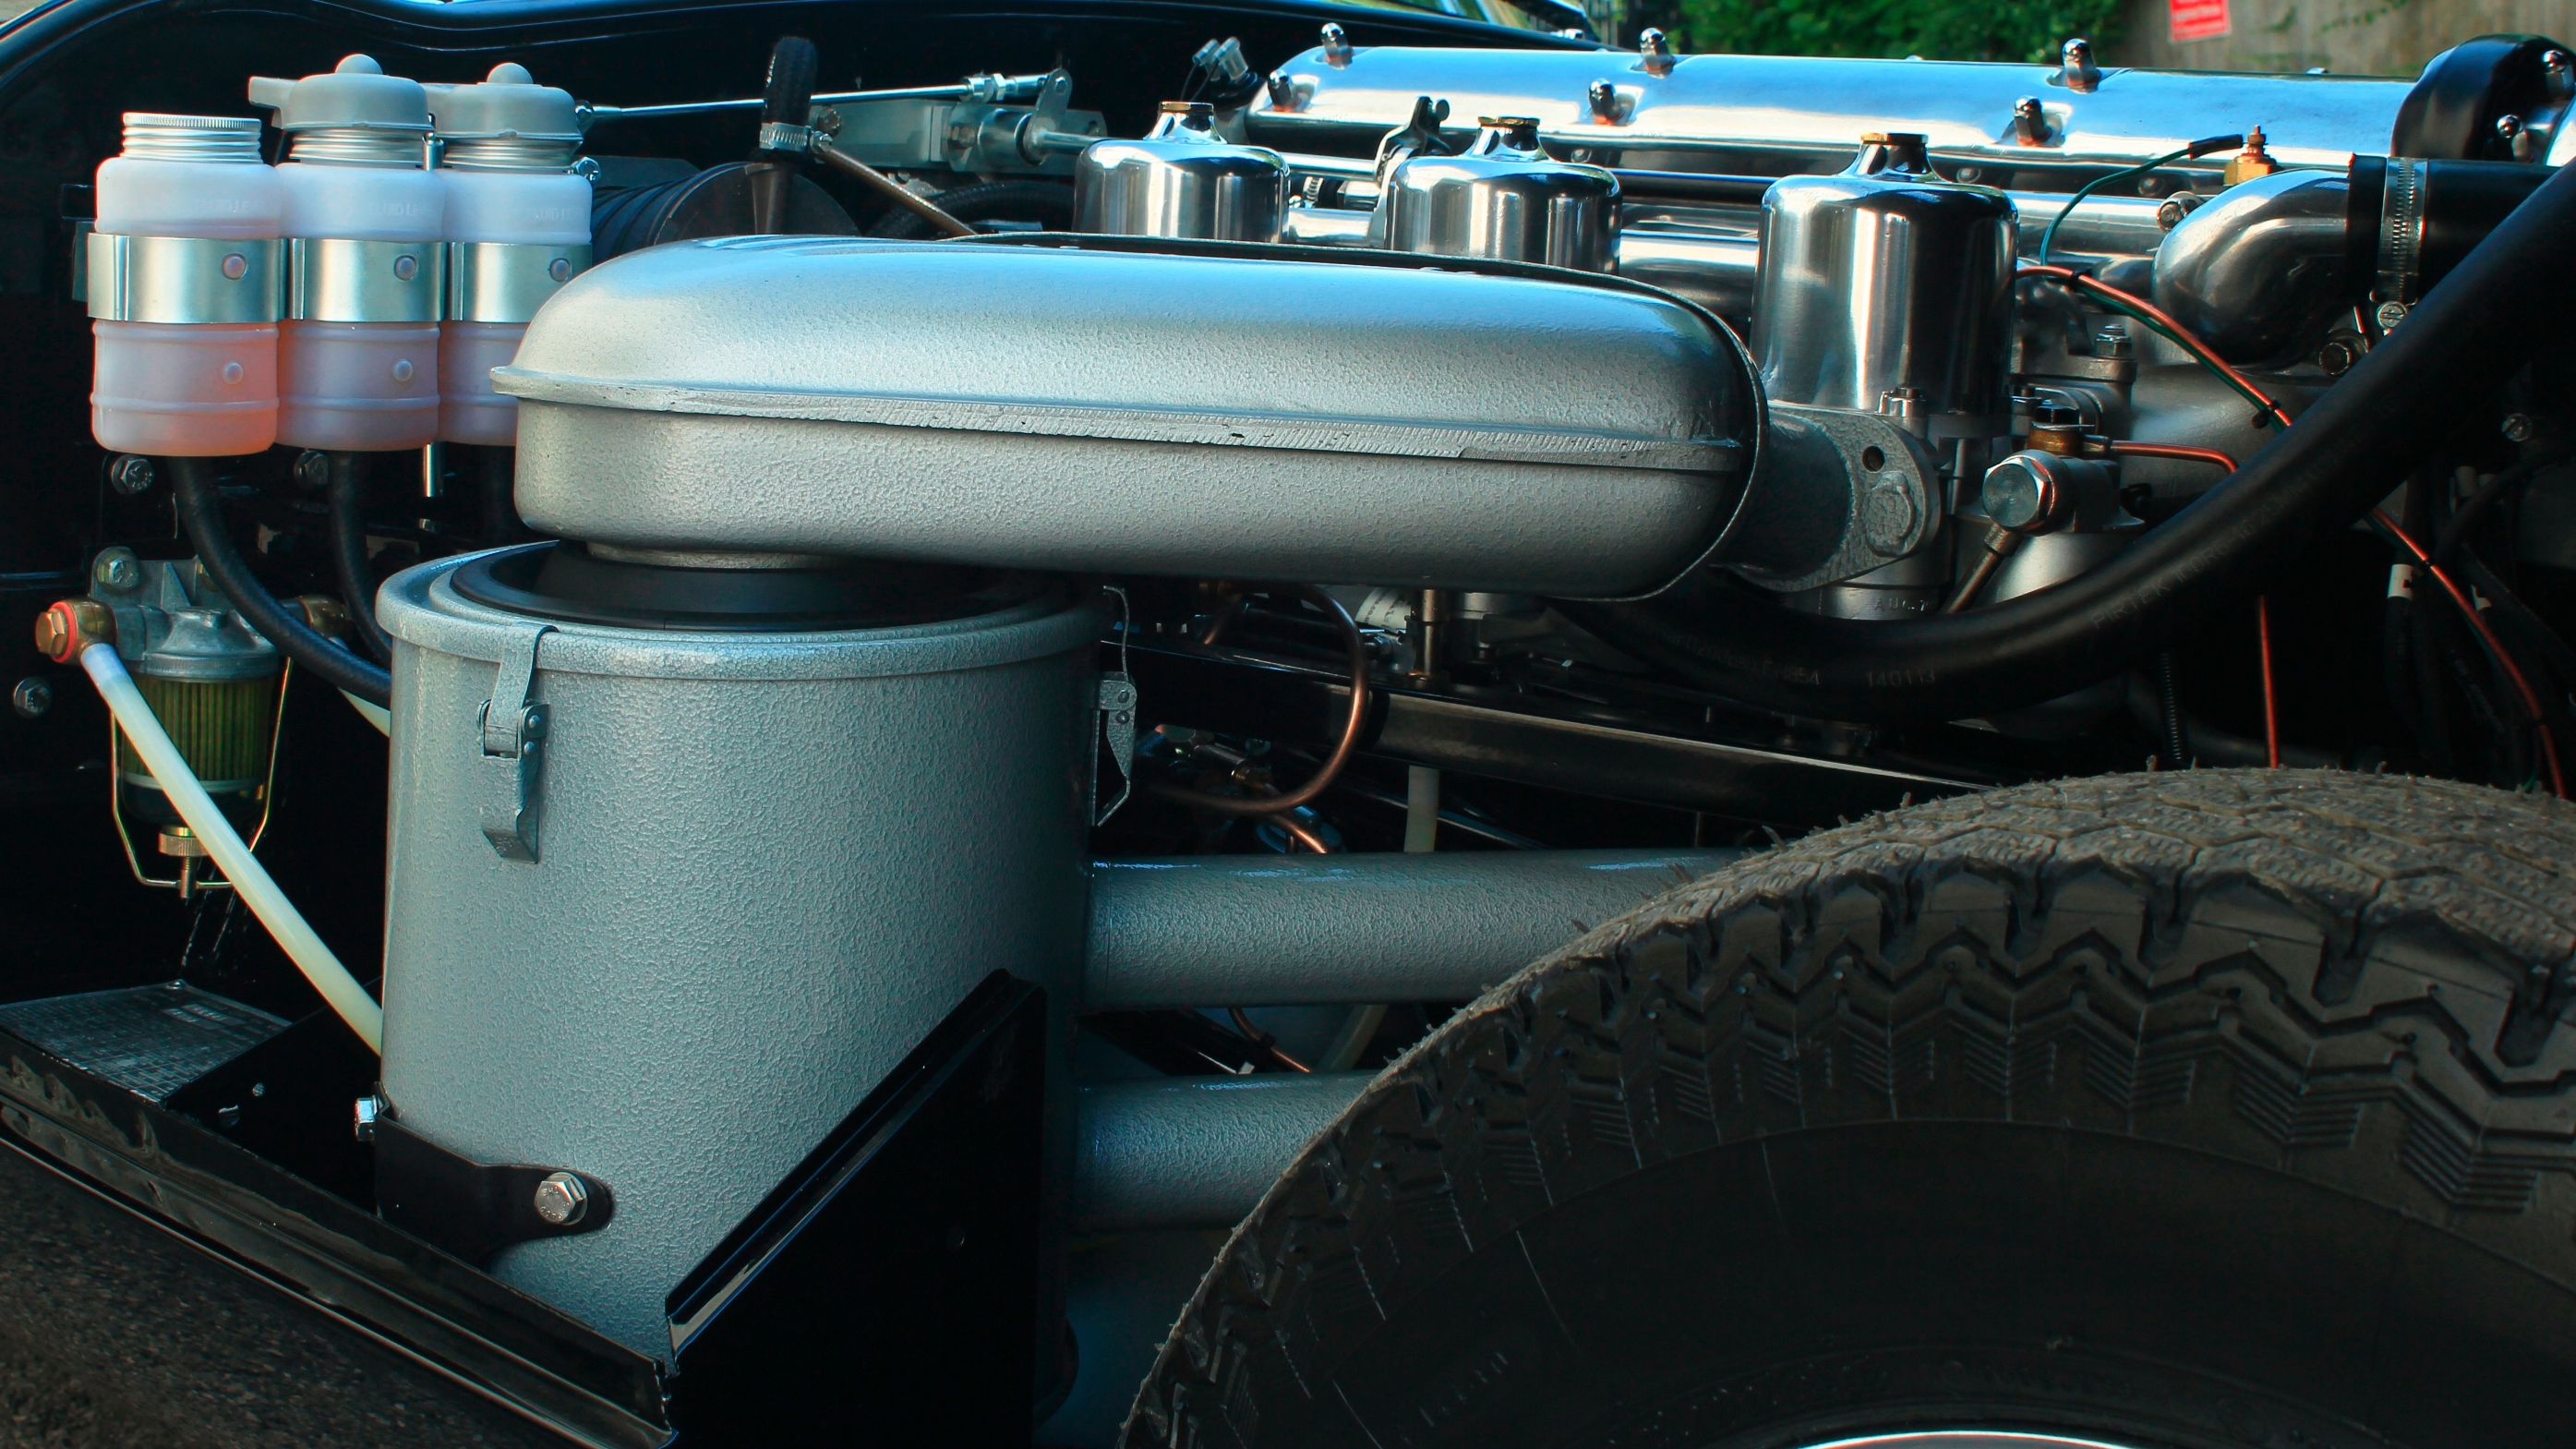
The detail was begun by cleansing the engine bay of dust and dirt. As dust was the primary contaminant, a harsh cleaning agent was not needed. Only a mild dilution of Citrus cleaner in a trigger bottle, combined with agitation using an assortment of soft brushes.
Using an open-ended hose, the engine bay was then carefully rinsed free of all dirt, ensuring that any electrical items weren’t exposed to water, so as not to cause any damage. The long-reach wheel woollies were able to reach deep down into the front clamshell of the car to safely remove white dust that had gathered there. This area was then also rinsed thoroughly. Any delicate areas, such as distributor, relays, and connections, were then force-dried with warm filtered air to ensure that no standing-water remained.
While cleaning the suspension and brake components, black overspray was found on one of the vehicle's wishbones. This was carefully removed with a microfiber cloth, with a small amount of solvent tar remover misted into the cloth itself, not the components of the car. A final rinse, and the clamshell was closed down to begin on the exterior of the car. The whole car was covered in a layer of foam pre-wash and left to dwell for 4-5 mins.
Thanks to black heat-absorbing paint combined with hot sunlight, the foam was drying out a little faster than normal. During these few minutes, hard-to-reach areas were agitated with a 1” detailing brush, paying extra attention to body gaps, shut lines and trim surrounds. The whole car was then pressure-rinsed, once again paying attention to the said shut lines.
The car was then washed using the two-bucket method, with a grit guard present in each bucket. Auto Finesse Lather pH neutral shampoo accompanied a Gyeon Merino Wool wash-mitt, to carefully wash down the paint, ensuring no grit was re-transferred onto the paint, which could have caused marring. Again, due to the lovely (yet nightmare) weather, one panel was washed at a time and then rinsed immediately to stop shampoo solution drying out on the surface.
After every panel was washed, the car was moved indoors out of the sunlight. As the car has never seen the road, there would be no need to de-tar the vehicle, so it was moved straight onto the claying stage.
The clay bar was submerged in fresh warm water for a few minutes, allowing the clay to soften up ready to be used. Misting the panel with the lubricant, the clay bar was then removed from the water and kneaded into a small disk.
The clay bar itself was then misted with lubricant. Working in straight lines with very little pressure, the car was freed of any bonded contaminants. The clay was kept well lubricated to prevent the paint from being marred.
The glass surfaces were also clayed to remove any overspray before the car was pulled outside and re-covered in a layer of foam. This step carries away any lifted dirt and contamination from the clay process, without the need to re-wash the car.
With the car moved once again indoors, it was dried using a combination of drying towels and warm filtered air to clear standing water away from trims, water traps, and hard-to-reach areas.
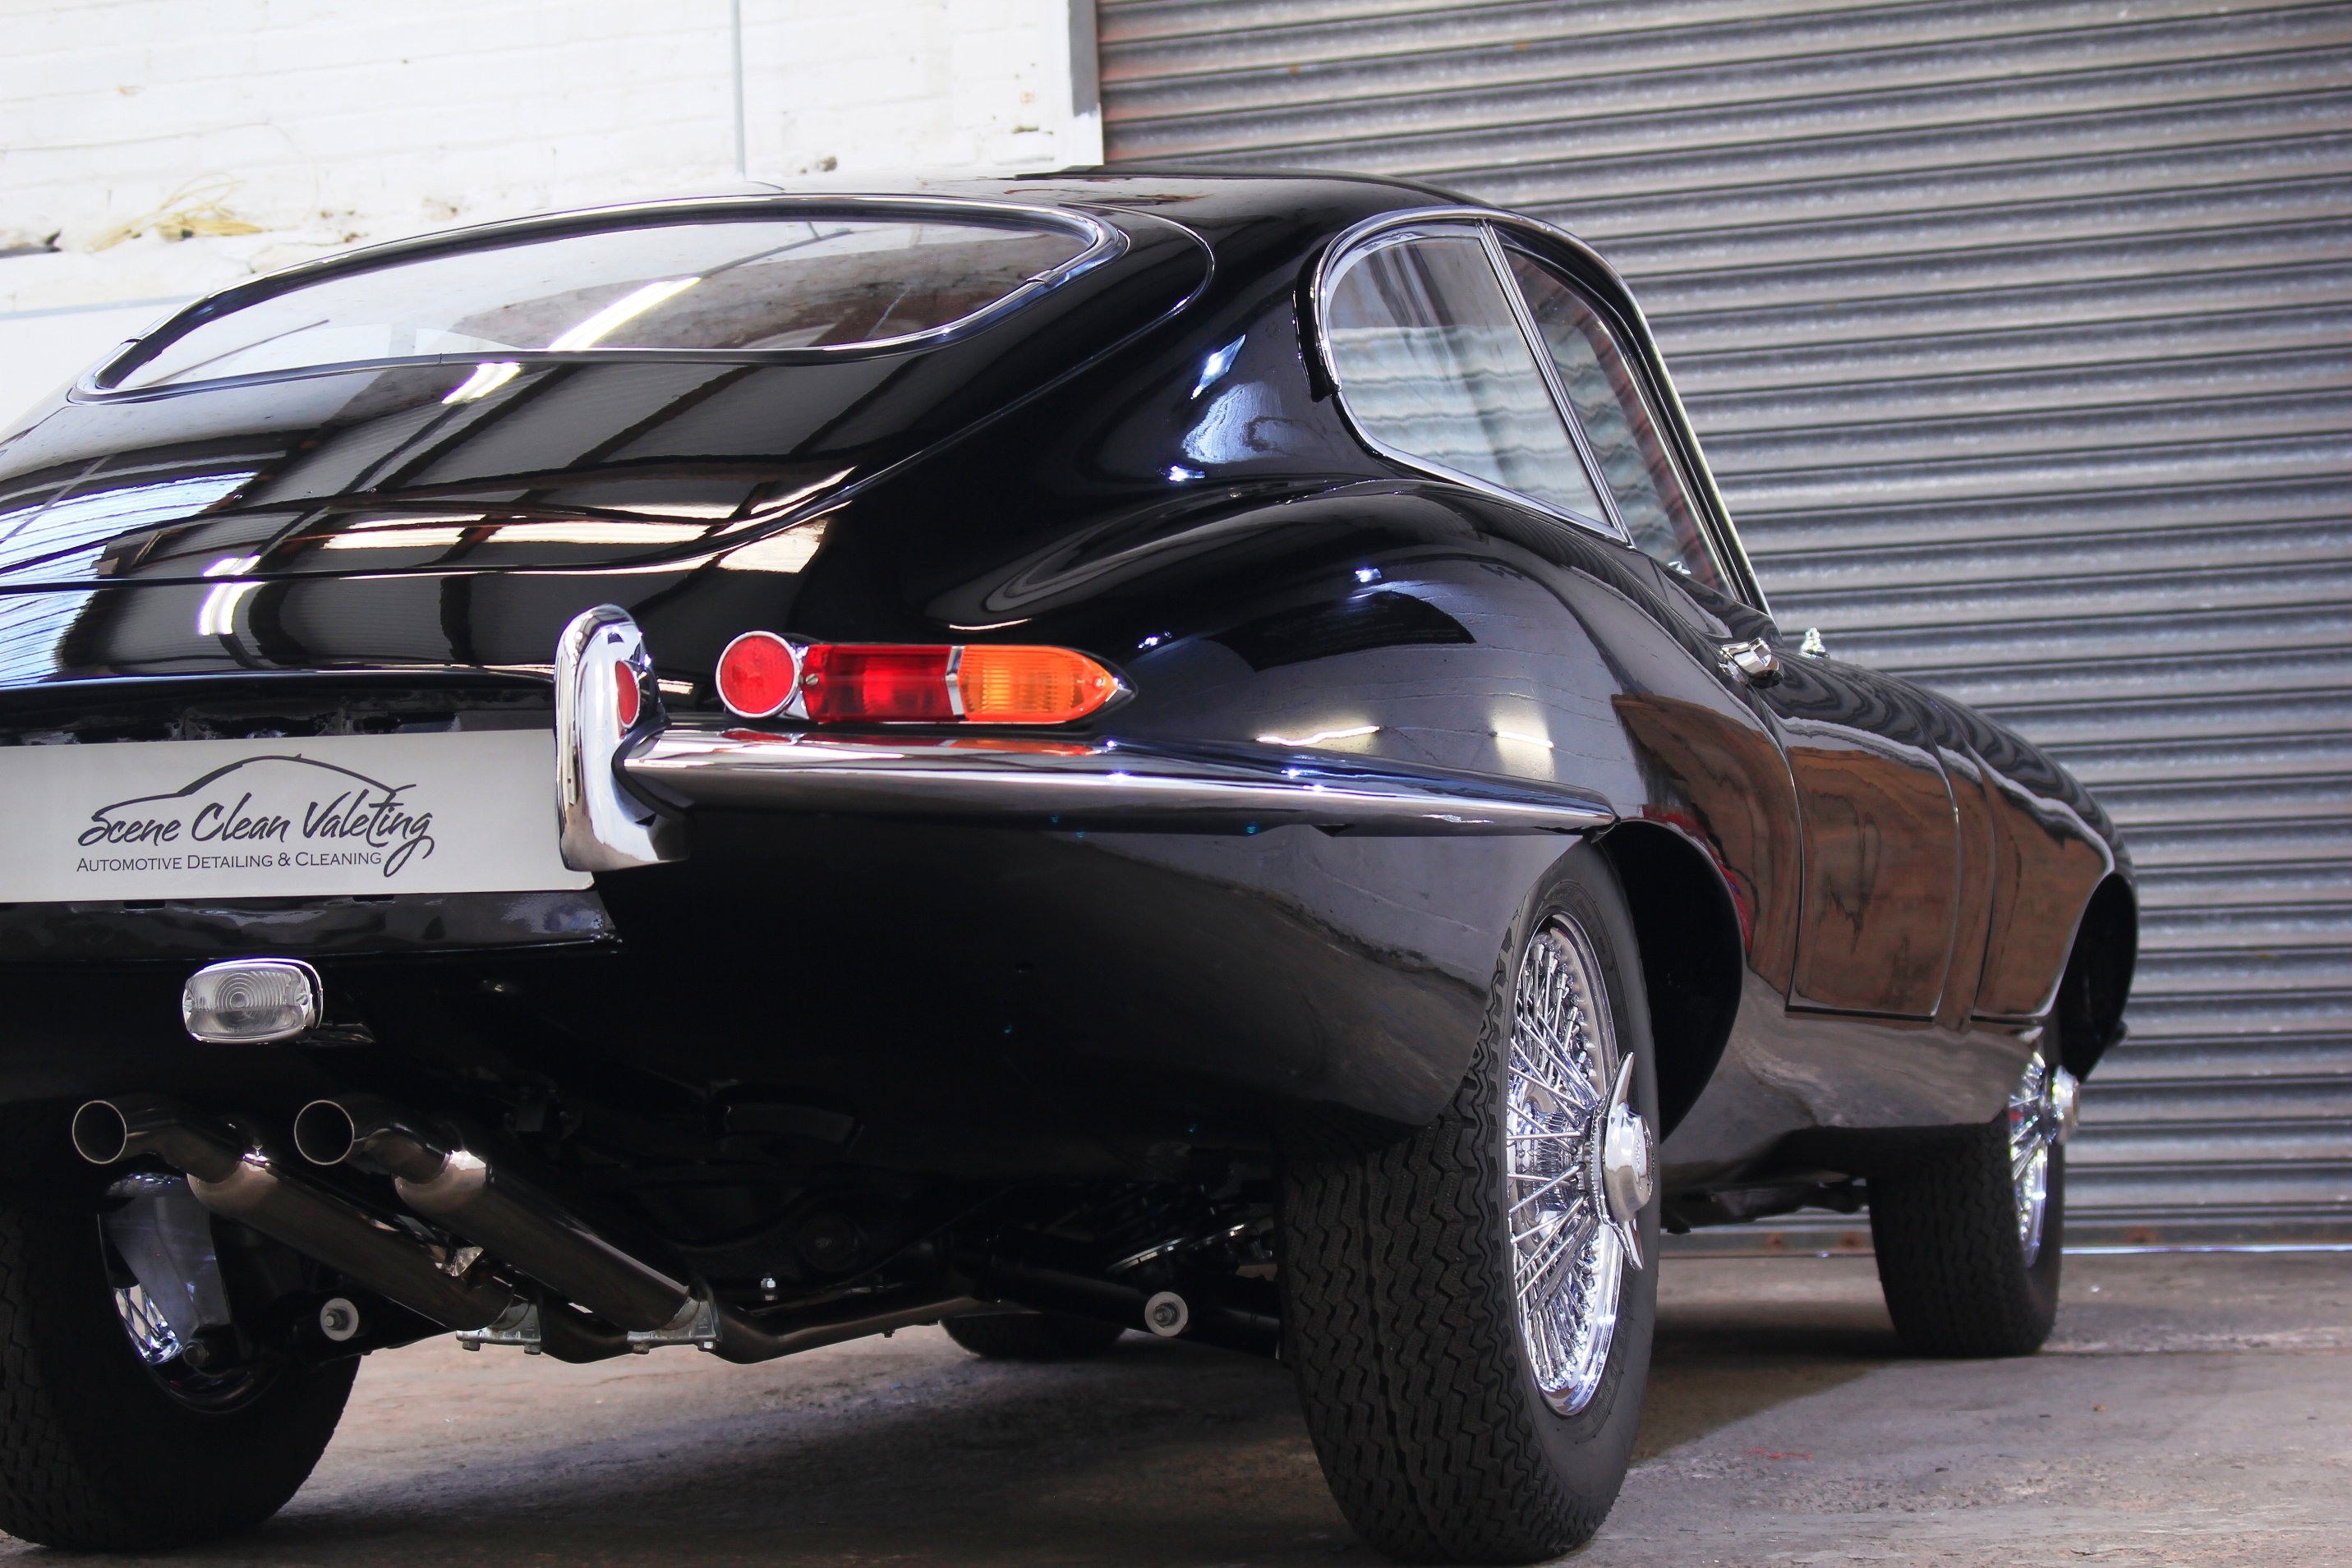
The engine bay was then blown dry of any water that had got through the bonnet vents. All delicate areas of the car were masked up, to protect them during polishing.
Polish residues remained from the body shop's flat and polish process. The car was littered with heavy buffer damage, which were clearly visible once the paint was clean. The bonnet vents were taped off from underneath to stop any dust contaminating the clean engine bay, while all rubbers and trims were also masked off.
The paint depth was measured over the entirety of the car and noted onto an outline vector drawing of a Jaguar E-Type. The readings ranged from 122 microns up to 600 in some places. A few places read ‘overflow’ or even gave no reading at all, which can be a sign of body filler.
With all readings taken, the correction process started. A combination of Koch Chemie polishes and Lake Country polishing pads were used with both rotary and Dual Action polisher’s, dependant on how accessible tight areas became.
Three stages of polishing were carried out, each stage a finer than the last. This increased clarity and gloss in the paint. An IPA wipe-down between each stage of polishing removed any fillers to allow an accurate assessment of the paint.
After the third polishing stage, also known as the refining stage, a small detailing brush was used to free any accumulated polish dust from window seals, body gaps and other crevices. After all dust was cleared, a final IPA wipe-down revealed the true condition of the paintwork. This included the rubbers and trim to remove any polish residue. The trims were given a second clean with APC to ensure any old coatings were removed. We then dressed the trim with Gtechniq T1, and carefully went around the edges to ensure none had hit the paint prior to waxing. We're a fan of T1 for its natural look and durability. Once all seals were taken care of, the wax was next.
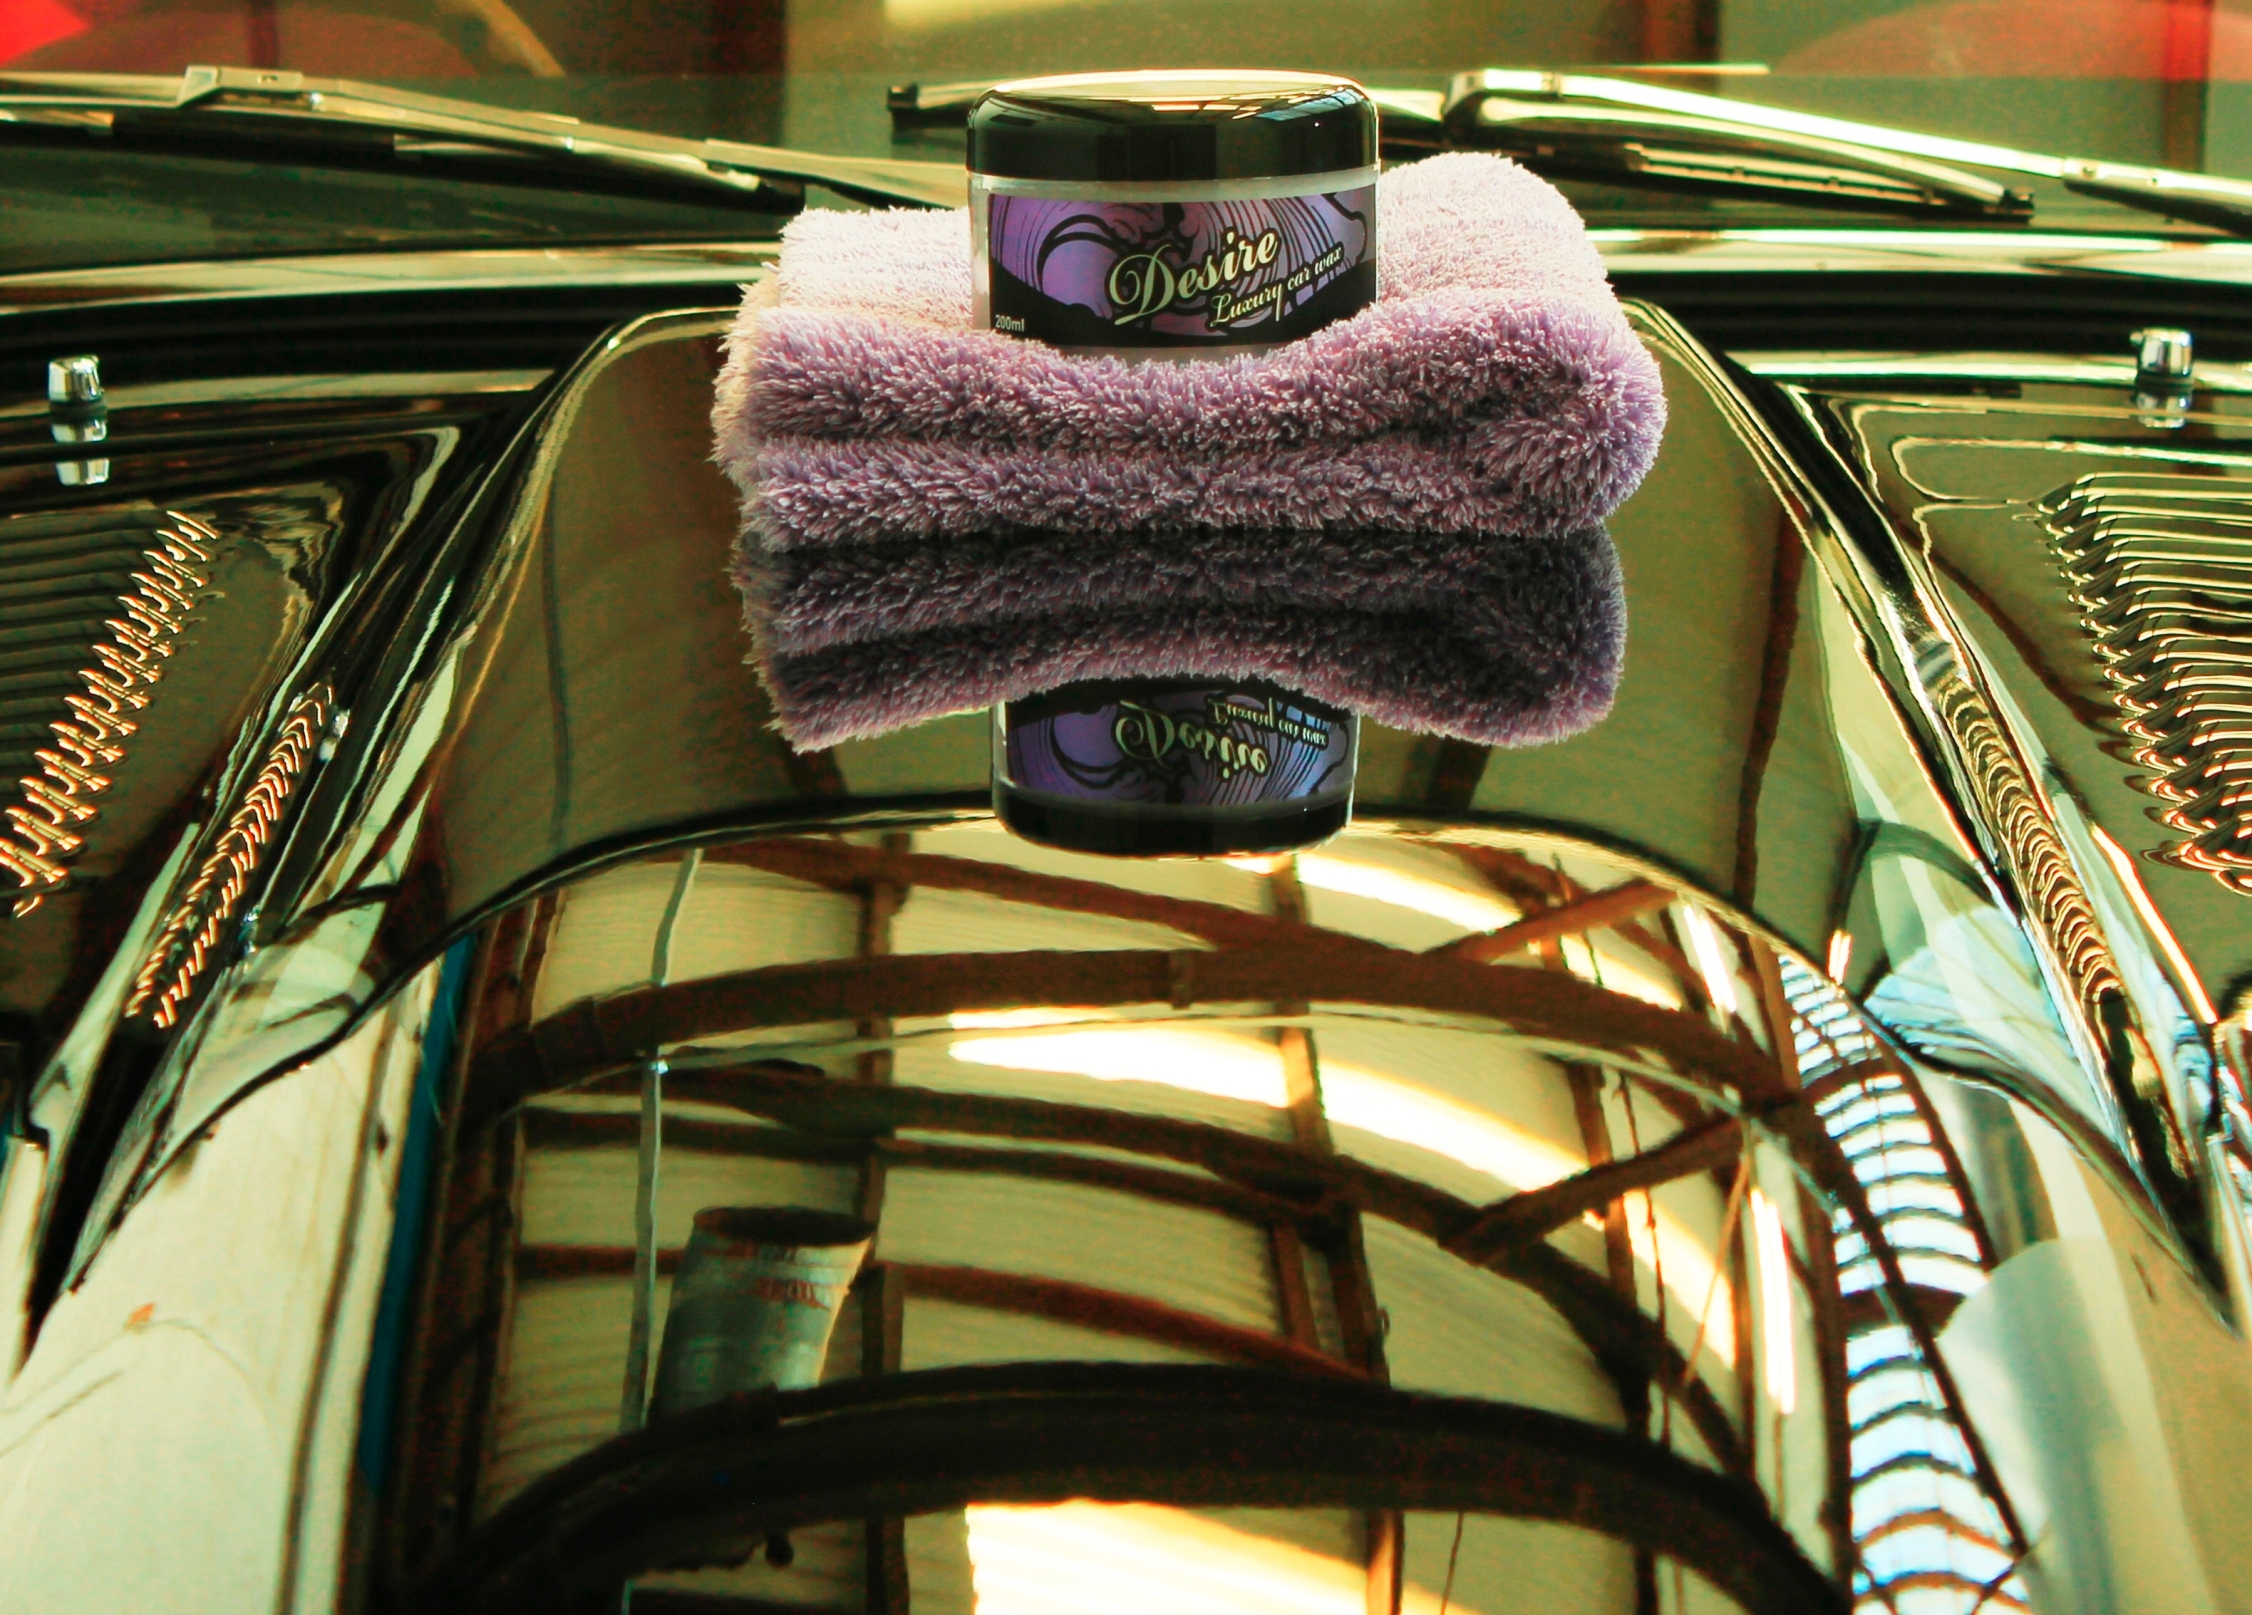
We chose Auto Finesse’s premium wax ‘Desire’, for its great durability and levels of gloss. It was applied one panel at a time with a foam wax mate applicator pad. We used circular overlapping movements to ensure even and complete coverage, while monitoring closely with detailing lights.
Then Desire was applied to the entire vehicle, although the lower panels were left un-waxed for the time, as they needed further attention. During the cure time, the exterior glass was cleaned free of any water-spots, polish splatter and dusting from the correction stages.
The tyres were dressed and protected with Gtechniq T1, to leave a fresh natural ‘new tyre’ look, perfect for a car looking for the concours finish.
Once these odd jobs were completed, it was time to buff off the first layer of wax. We used a brand new microfiber cloth to eliminate the possibility of anything being trapped in the fibres, potentially undoing all our hard work.
Working in straight lines with no pressure, the wax was gently buffed, flipping the cloth regularly to ensure no residue was left behind. We needed to leave a good hour before applying a second coat, so a few more odd jobs were carried out to pass the time.
All brightwork was polished with Meguiar's NXTGen by hand to remove water-spotting and add some shine.
The Meguiar's non-abrasive polish was used, as the bumpers were new and had no marks to remove. Any polish that come into contact with the seals was wiped away effortlessly with no staining or residue.
The engine bay was next on the agenda. Using Auto Finesse Dressle we lightly misted the plastics, rubbers, and silicone pipes, removing the excess with a microfibre.
The visible painted areas on the chassis, and the underside of the bonnet were then wiped down with a quick detailer. The rocker cover and selected other auxiliary components were finally hand polished using Meguiar's.
The suspension and insides of the front wheels were cleaned with APC and microfibre. Once the engine bay and brightwork was completed, it was time to apply the second coat of wax. It was applied in the same manner as before, after the paintwork had been lightly dusted to ensure a pristine surface had been created for the wax to adhere to.
After fifteen minutes we buffed off the second coat of wax, before leaving it a couple more hours to cure properly.
In the interim we took the opportunity to start work on the chassis, which required machine-polishing while the car was raised. After putting chocks at the front, the rear of the car was jacked up. We didn't need to raise the front as the areas could be accessed by simply lifting the vast bonnet.
Overspray and water-spots were found on the sills and rear valance, so these were hand polished using Koch Chemie F5 and a dual foam applicator.
We also removed some pig-tail damage from the sills with machine polishing. After polishing we waxed the areas individually to ensure they were protected.
While the car was in the air we took the opportunity to clean and polish the exhaust, right the way from the manifold to the tips of the tail pipes.
We also cleaned the painted chassis rails with APC and a microfibre to remove the dust that had accumulated. Floor pan, exhaust brackets and any other flat painted areas of the chassis were then protected with Auto Finesse Tough Coat. This was left to cure for twenty minutes, during which we attended to the entire rear suspension, ensuring it was spotless.
The final area of the car was the interior; starting with a barcode sticker that needed removing from the windscreen. Steam was used to soften the glue and as much of the paper side of the sticker was removed as possible.
A cloth was placed at the bottom of the windscreen to capture any excess water formed from the steaming. The remains of the sticker were left to cool after steaming, before being completely removed with tar and glue remover on a cloth.
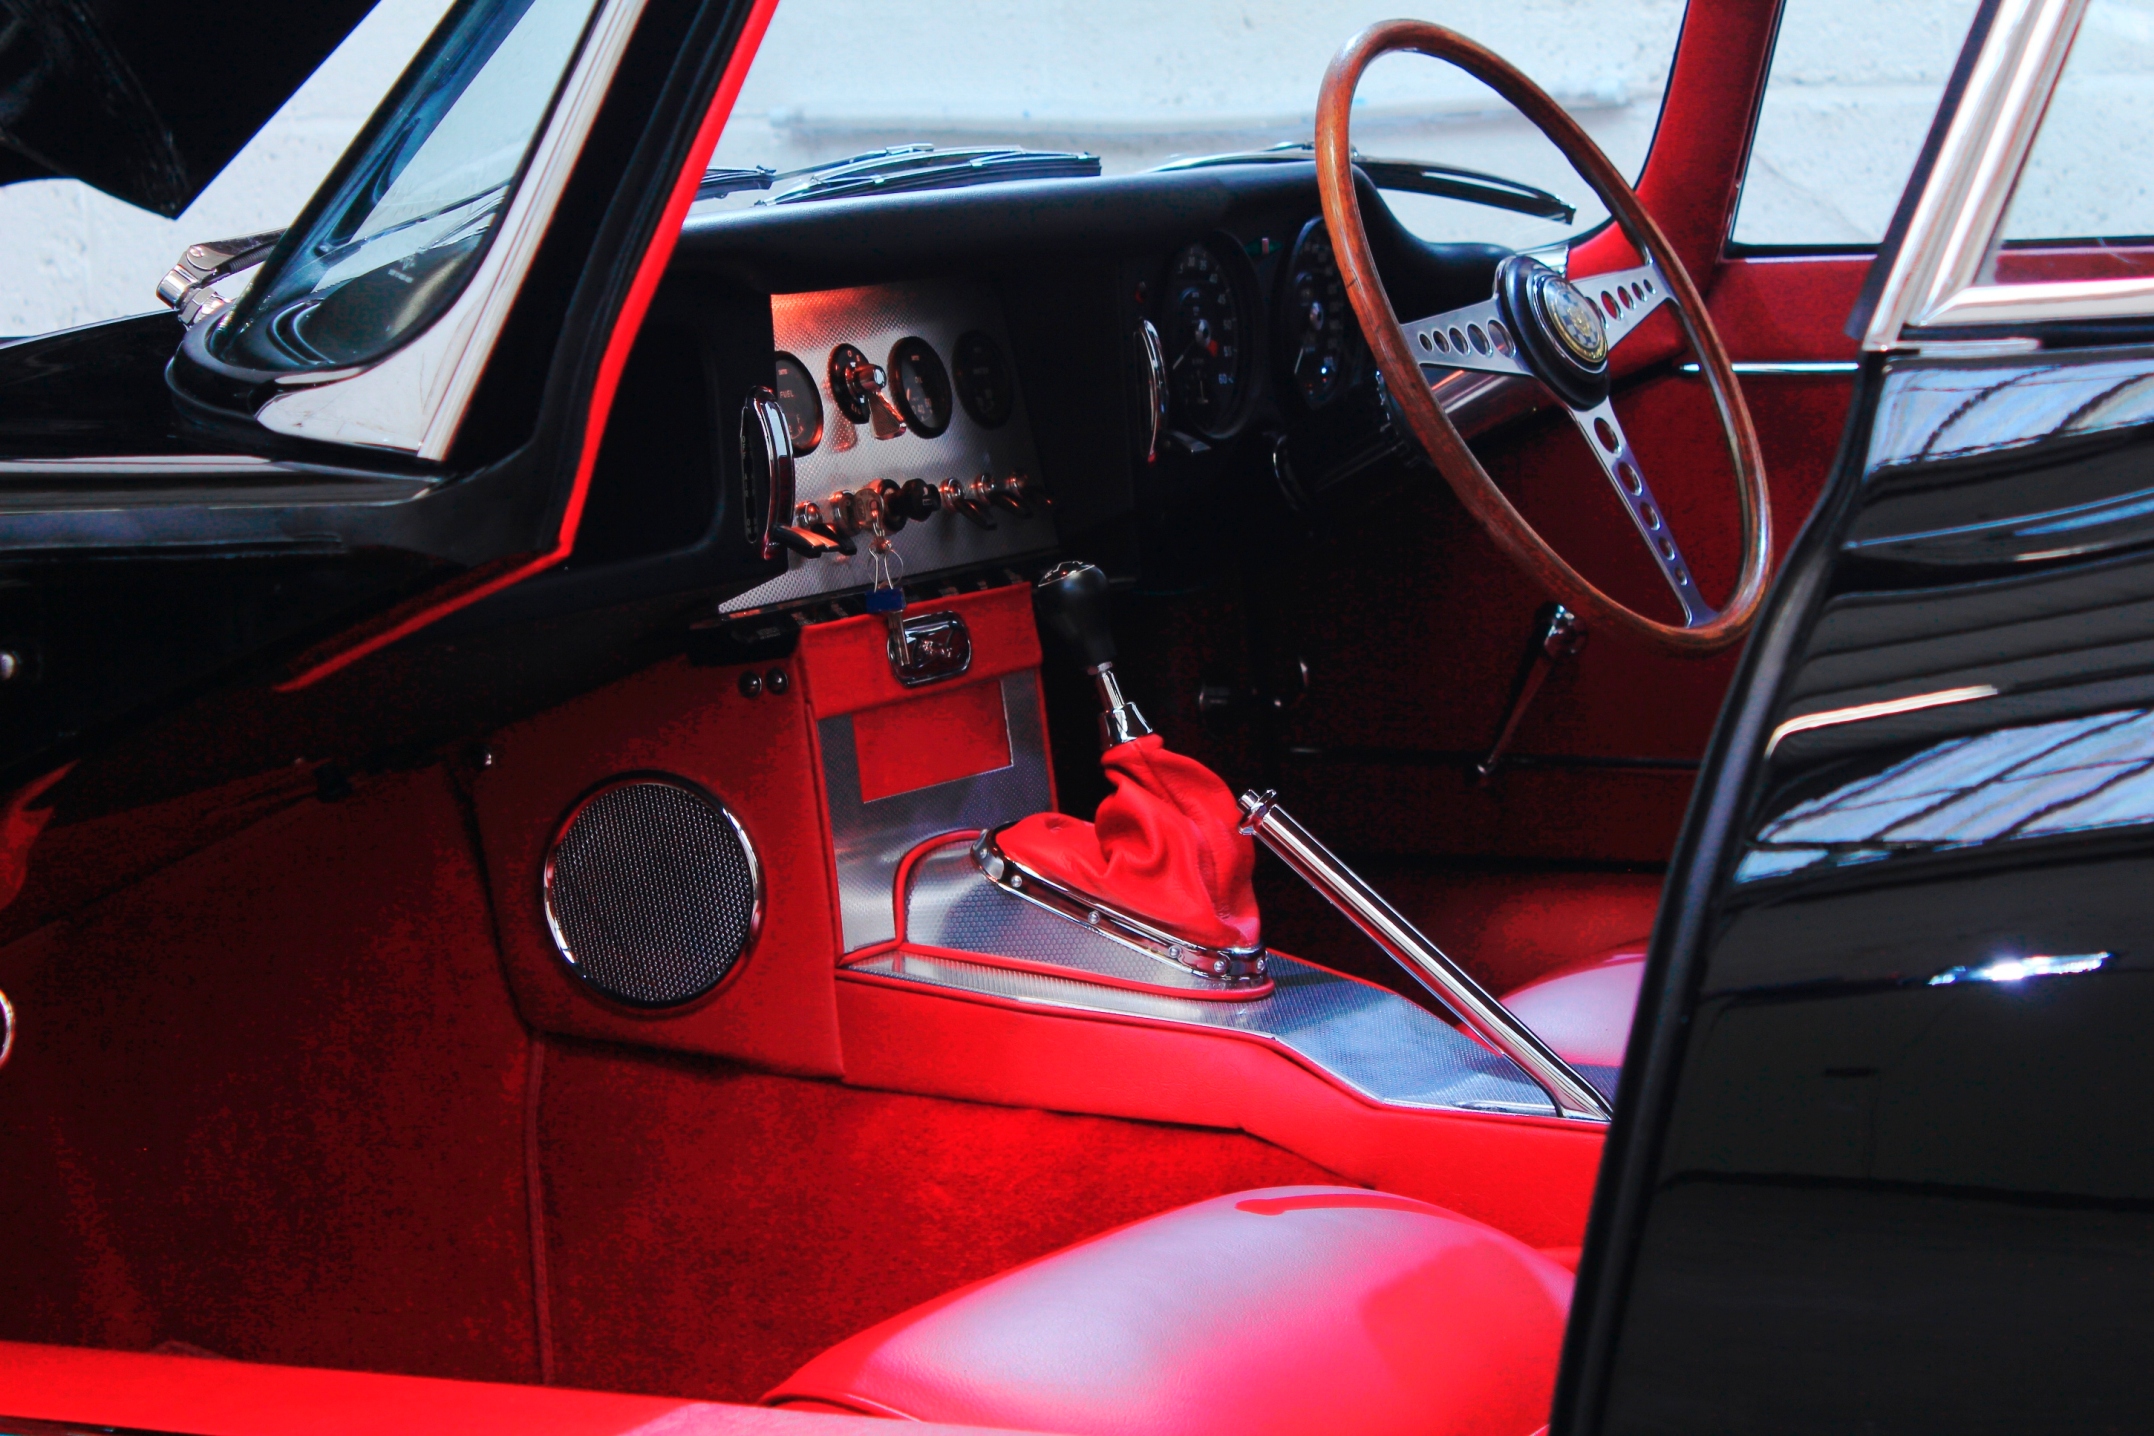
The windscreen was cleaned meticulously, removing residues and general dirt. All other interior glass was also cleaned, removing dust and fingerprints. A cloth dampened with a dedicated interior cleaner was used to wipe the dashboard and trim surfaces.
We didn't use a dressing as the dash was brand new and looked perfectly period for the car.
Using a detailing brush, we dusted all the crevices and gaps around the switchgear, while the carpets and seats were also vacuumed. The interior cleaner was also used, in a very light dose, to go over the leather seats to remove any final detritus.
The front and rear windows were opened in order to give us access to the rubber shuts so that we could remove any polish residue. We took the opportunity to clean the chrome window surrounds by hand, as well as the drainage channels.
Once everything was completed, the car was brought outside for a final inspection under sunlight, and some final quick detailing to ensure the paint was flawless. It was finally ready to be delivered to the restorers and eventually, one lucky customer.

