Professional Scratch or Scuff Repair
Some paint defects are beyond the help of machine polishing, which is why a growing number of PVD members are developing their SMART Repair skills. Matt Laybourn of Slim's Detailing outlines some of the procedures involved.
Minimising the repair area is the key to making profitable SMART repairs. SMART stands for Small to medium area repair techniques.
These were developed for working on areas under an A4 size sheet of paper in dimensions. This process is for scratches and scuffs only, and not any indentation over 1 to 2mm in depth.
If any indentations are deeper than this, then a glue pulling system should be used first. Examine the damaged area closely before starting to ensure that it can be repaired with your proposed method.
Step 1:
Clean off the damaged area using a solvent or water based panel wipe and a lint-free cloth. Locate the colour code on the vehicle in order to have the correct paint prepared. Ensure the paint is fully mixed and compare colour-match with a spray-out card prior to starting.
Step 2:
Using a fine compound and electric polisher, polish the damaged area and the surrounding part of the panel. Clean off using a solvent and a water-based panel cleaner and a lint free cloth.
Step 3:
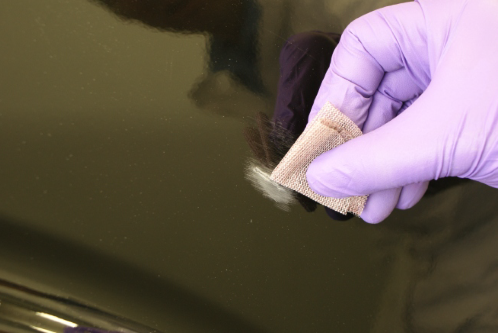
Sand damage with 400 grit paper to key repair, then fold the abrasive and use the crease of the paper to work indentation of scratch/scuff if necessary. Clean with water based cleaner and blow out the repair area.
Step 4:
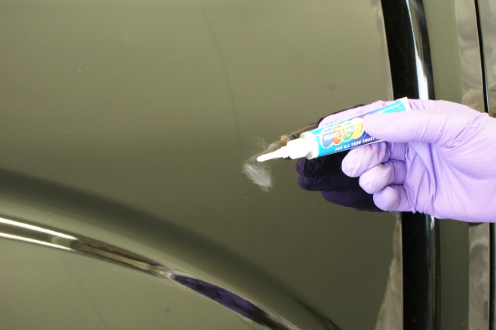
Apply Clear Gel scratch filler to the scratch and use spreader to level out. Make sure the scratched area of the paintwork is filled. Use Activator spray to set off the Gel which is immediately ready to sand.
Step 5:
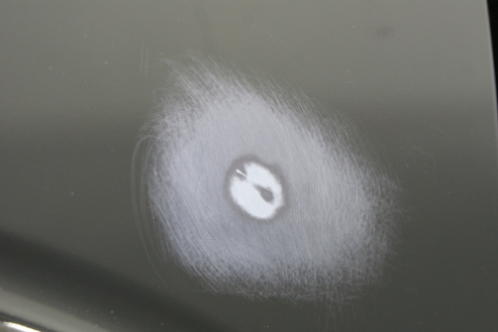
Sand damage and surrounding area with 240/320g. Make sure to prepare a large enough area to give a good key for primer use 400/500g on a hand pad or a mini sander.
Step 6:
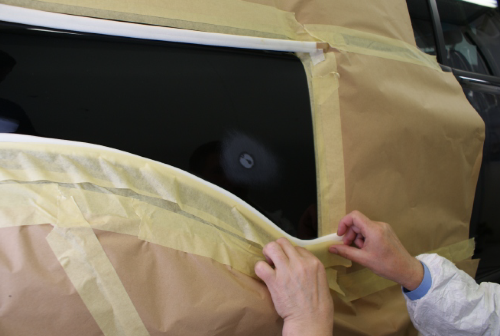
Clean repair area, then use a blower to remove all dust and wipe dry, or use a hair dryer. Mask the area as necessary to contain repair. Blow off the panel once again and panel wipe the area finishing with a tack rag.
Step 7:
Prime with High Build Primer Aerosol, or use water-based primer 2-3 three quarter coats containing primed area. Dry using hand held infra-red, hot airgun or hand blower between coats if necessary.
Step 8:
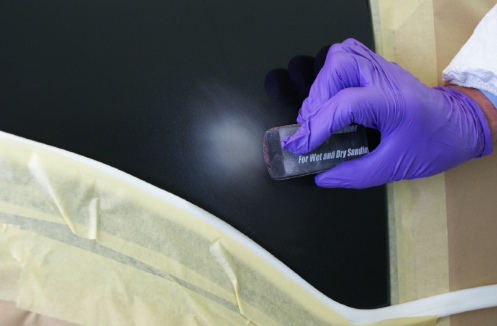
Repair area is now primed and ready to be prepared for paint. Guide coat can be applied at this stage before flatting. Flat down primed area using 500g abrasive by hand.

Step 9:
Work out the total area to be painted, not only with colour but also with clear coat. This area must be keyed for your colour and clear coat to adhere to by hand using preferred method to give a good key.
Step 10:
Or use a sander with 1000g and sand down the entire area to be coated up to the blend area. Clean again with a water-based cleaner and dry. Using a tack rag, wipe the area to be painted.
Step 11:
Apply colour with a mini jet spray gun (always use a pps liner or strain your colour into the pot). Apply one three quarter coat and dry off. Try to keep all coats as local to the repair area as possible to ensure a small finished area.


Step 12:
Apply slightly heavier coats, progressively widening out the repair until the area is fully covered, dry each coat with a blower/hair dryer, then apply a blend coat across the repair to blend the colour.
Step 13:
To clear coat your repair use a mini jet spray gun. Apply one grip coat of clear coat. Spray one further full coat of clear coat up to the edge of the prepared area, flash off between each coat, But do not tack off the lacquer between coats.
Step 14:
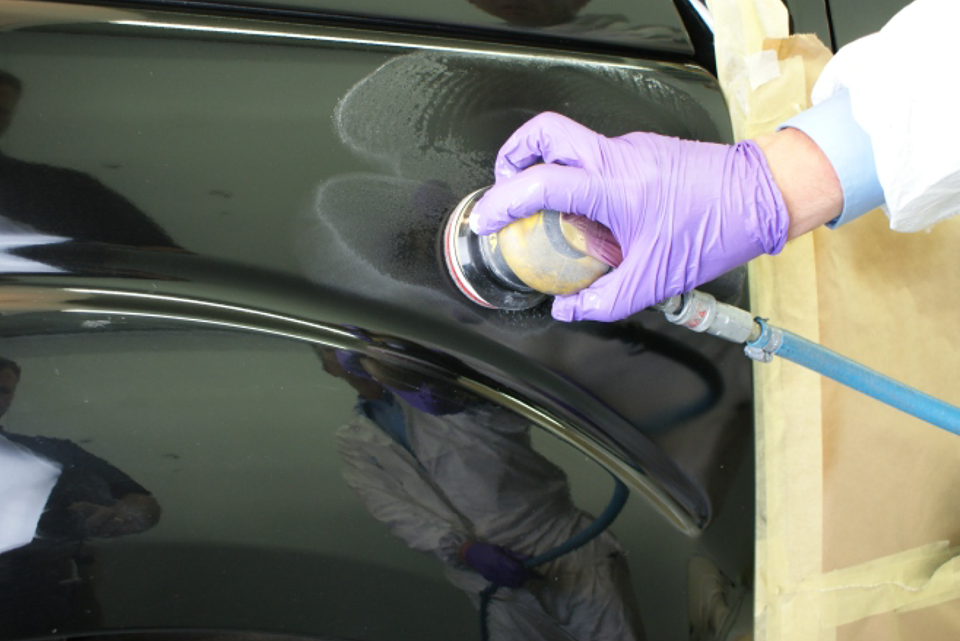
Fade out clear coat with a compatible fade out thinner into compounded area immediately, air dry. Cure for 5-7mins with infra-red and cool. When completely dry, sand with 2000g wet or dry, or use small sander to remove imperfections in your lacquer.

Step 15:
Compound the surface to give a good shine but be careful not to break through your fade out edge. Apply a glaze to provide a long-lasting finish.
Step 16:
De-mask and wipe over with microfiber cloth.

